|
|
|
|
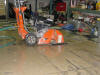
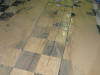
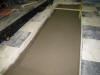
Cutting the Hole
Rented the concrete saw and cut 2' 1/2" x 7' 1/2". I knew that there was a criss-cross concrete beam centered in each direction in the floor; so I measured and cut to miss that beam. |
|
|
|
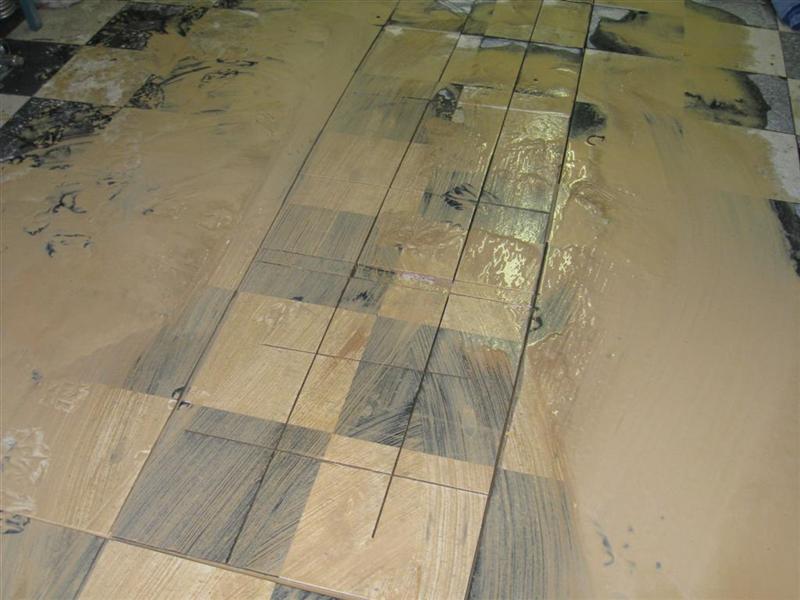
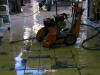
How to get a 1,000 pound hunk of concrete out of the hole?
Simple. Just cut it up first. No sledge hammer required. It only took about 30 extra minutes to cut the large rectangle into small manageable pieces. |
|
|
|
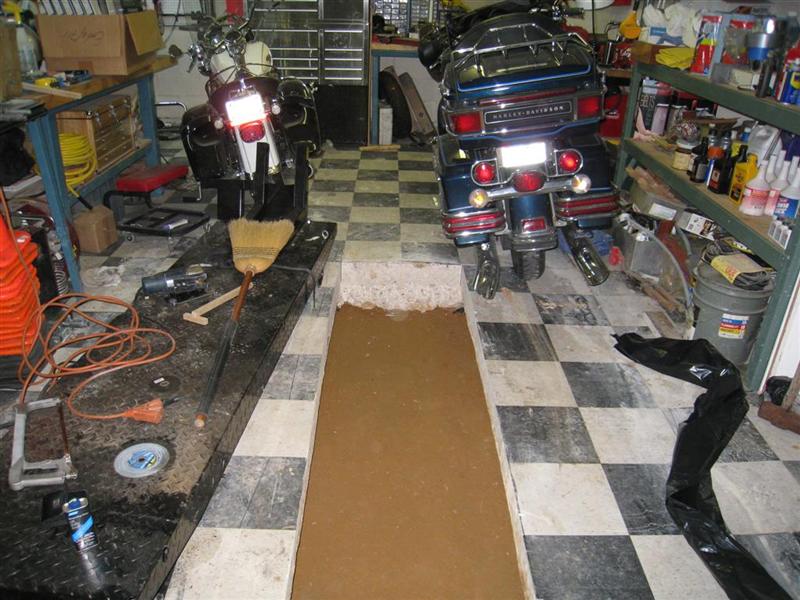
Cutting Finished
The floor cutting is finished. Now to see how I did. |
|

|
|
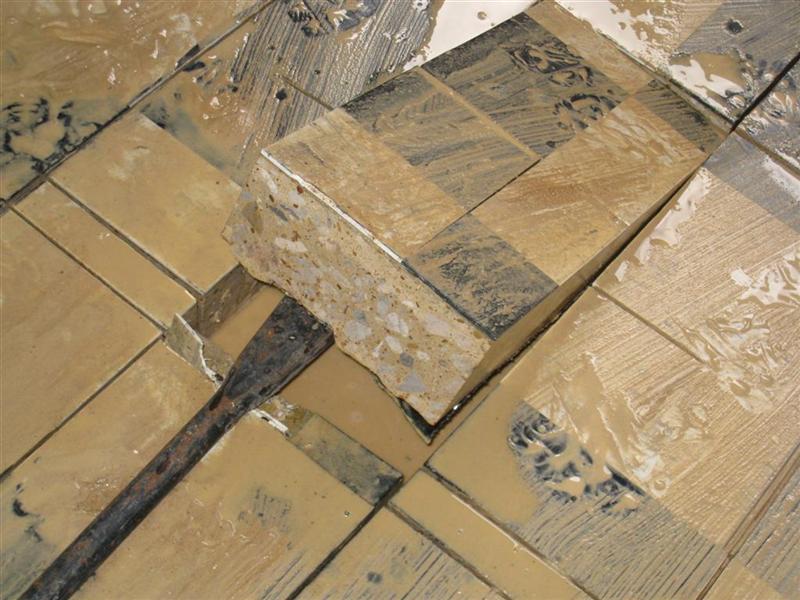
Lifting the Blocks
If I cut all the way through the concrete, then the blocks should lift out easily. The first one was the toughest since it didn't have enough room to be tilted. After that, it was a snap. |
|

|
|
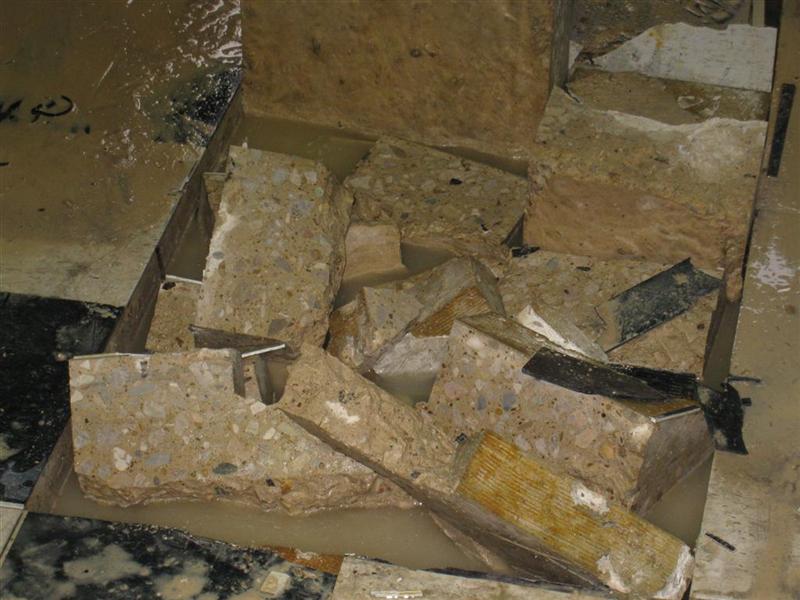
Heavy Lifting Time
After removing the first block, the rest were easily dislodged and tilted. They all seemed very heavy but only weighed about 100 pounds or less. |
|
|
|
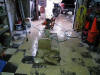
What a Mess!
It is not wise to leave concrete cutting residue to dry. If it dries, it'll take a power washer to remove the stains. Luckily, I've had this experience before. It's clean-up time. |
|
|
|
|
|
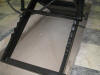
Dig and Replace the Sand Pad
I removed the original sand from the hole to expose the dirt. Then, I dug dirt out to a depth approximately 7" down. (That's about a foot to 13 inches below the garage floor level). Then, I put the sand pad back in the hole. I wanted a 4" thick concrete base that was 7" lower than the concrete floor. So the sand topped out at 11". |
|

|
|
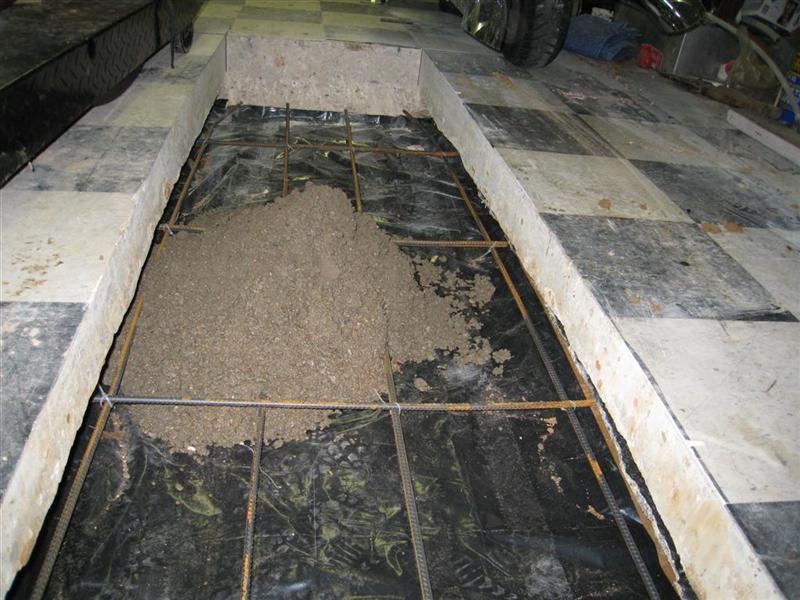
Ready to Pour
First, I covered the sand with plastic (garbage bags). Drilled holes in the exposed concrete ends and hammered reinforcing steel into the holes on each end. Tied the rebar together at each crossing and supported it about 2" off the plastic. |
|
|
|
Mixing and Pouring Completed
I hand-mixed Sakcrete. I believe it took 10-12 bags. I'd mis-calculated at 24 bags. Had to take the unopened ones back to Home Depot. |
|

|
|
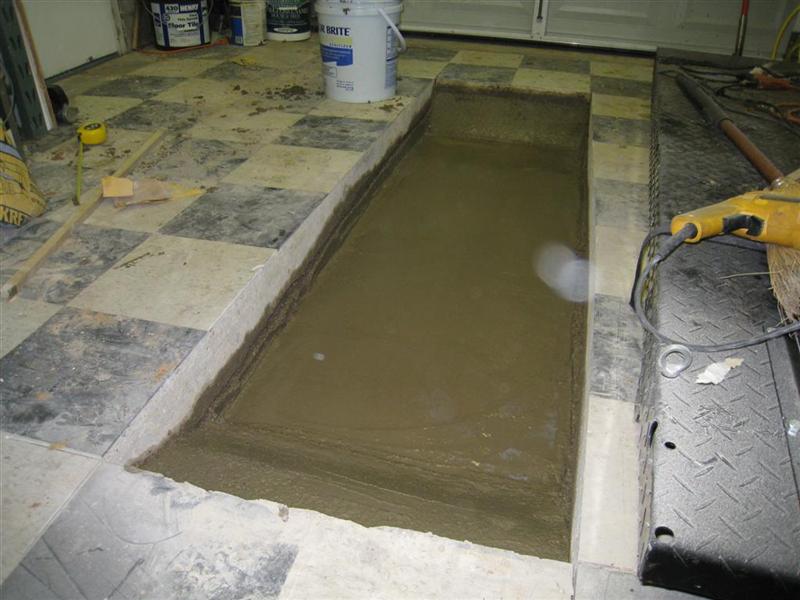
Soupy Concrete
I mixed the concrete as dry as I could. It was hard to shovel. But with the plastic underneath, all the water in the mixture came to the top. It wouldn't dry . . . . took forever. |
|
|
|
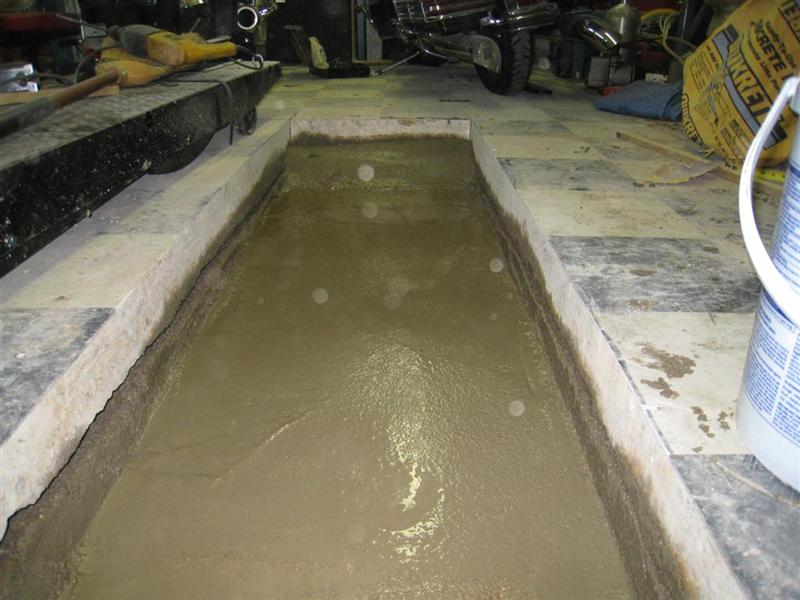
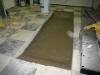
Setting the Depth
With a straight stick and tape measure, I set the depth to be 7" below the floor level in about 25 places as I troweled; adding or taking away concrete as needed. |
|

|
|
Simple Tool
Yep, 7" (plus or minus about an eighth. |
|
|
|
|
|
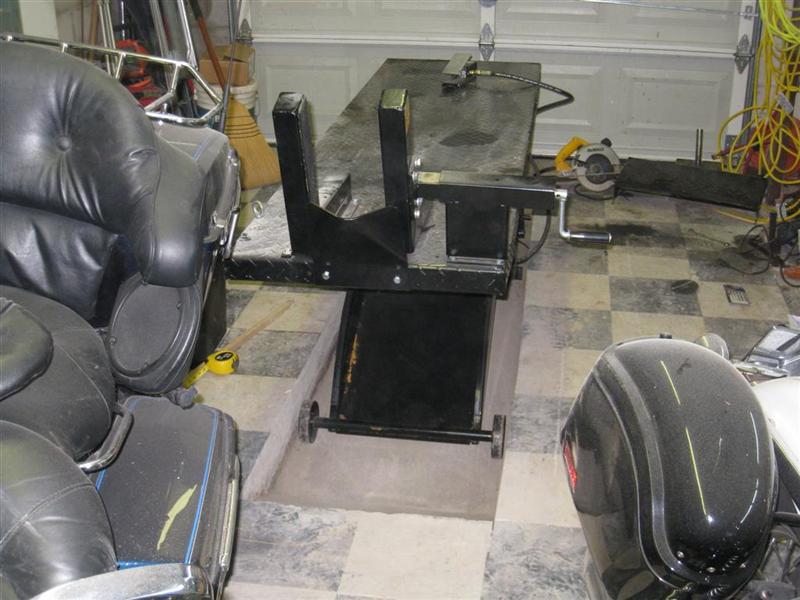
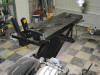
Lift in the Hole!
This was the exciting time. After two days, the pour was cured enough to roll the table lift into the hole to see how I'd done. |
|
|
|
Looks Good from Here
Couldn't help but admire my work. |
|
|
|
No Wobbles
Bottom of the pour was level enough .. . no wobbles. |
|

|
|
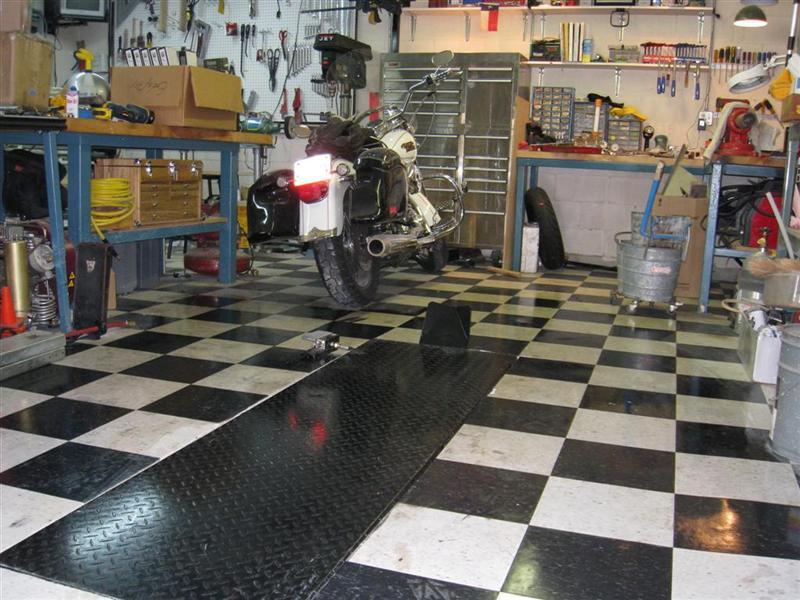
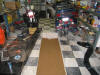
Recessed
This was the big moment. Would it fit? Well, it fit perfectly with space left over. Cleaned up, it doesn't look half bad. No more need for the front wheel chock. I removed it. |
|

|
|
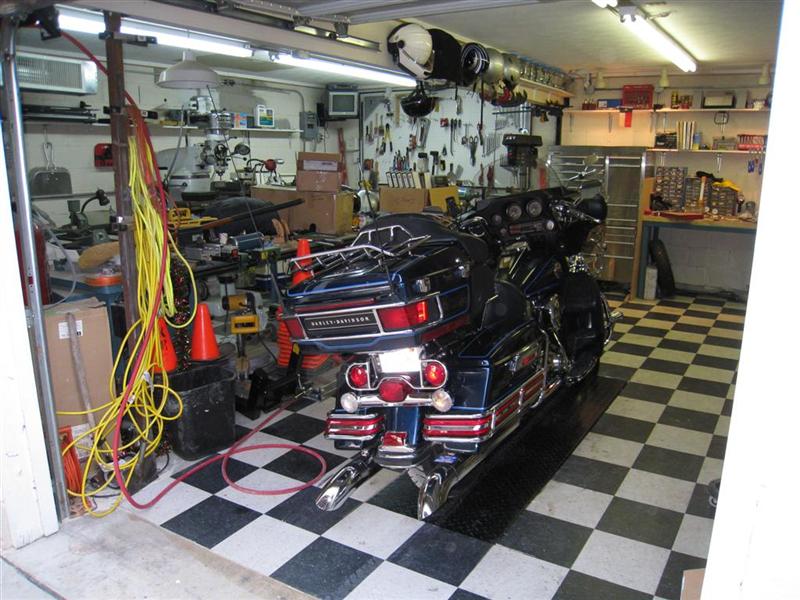
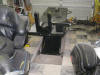
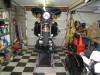
Rolled in the Motorcycle
Rolled the Ultra in and onto the lift. First time without help. PERFECT! |
|
|
|
Scissor Jack Holds Vertical
Bought this scissor jack on eBay for $55. It's great! I can have the motorcycle vertical in just a few seconds, ready to lift. |
|
|
|
|
|
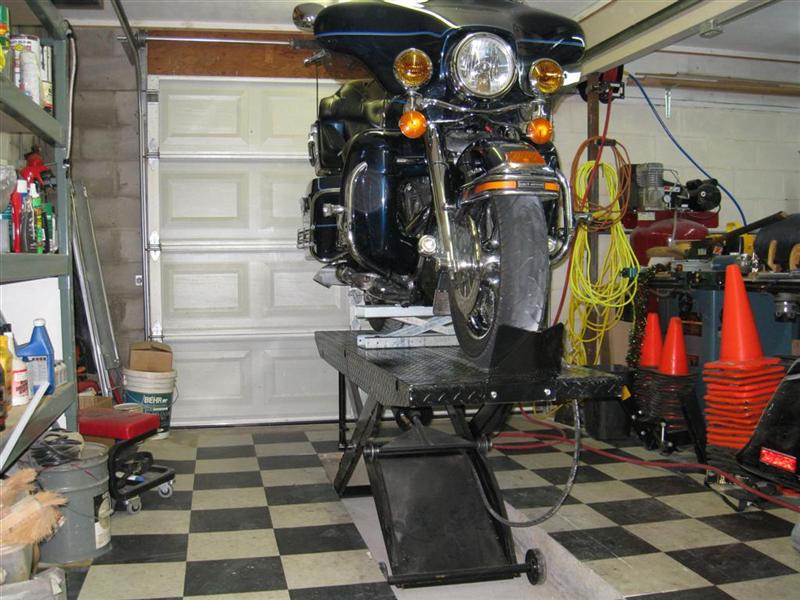
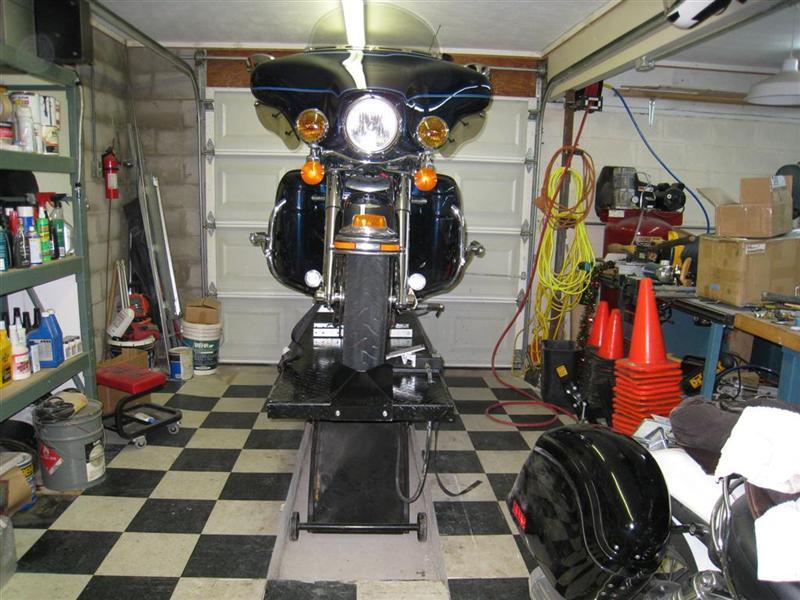
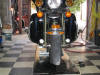
It Works!
In less than a minute from roll-in, my motorcycle can be safely raised for maintenance or even simple cleaning. |
|

|
|
Safety Straps
I plan to cut eyelets into the lift table deck. But for now, simply hooking under the sides does the trick. For cleaning, straps aren't needed at all. The motorcycle is as stable as if sitting on the concrete floor. |
|
|
|
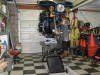
COOL!
Ready for that first major maintenance. In this case, installation of the DD-6 Transmission. |
|
|
|
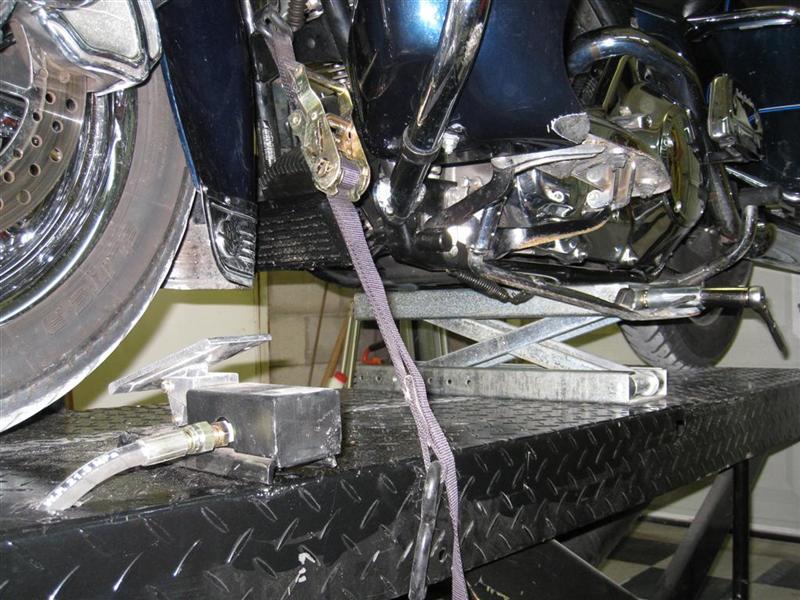
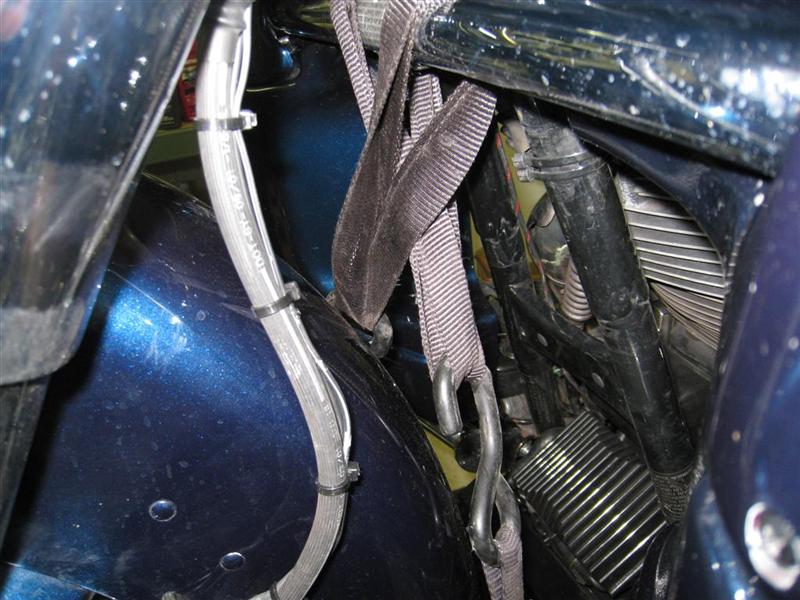
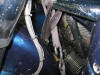
Safety Tie-Down Straps
I secure the safety straps onto the crash bar. It seems to give very good stability. |
|
|